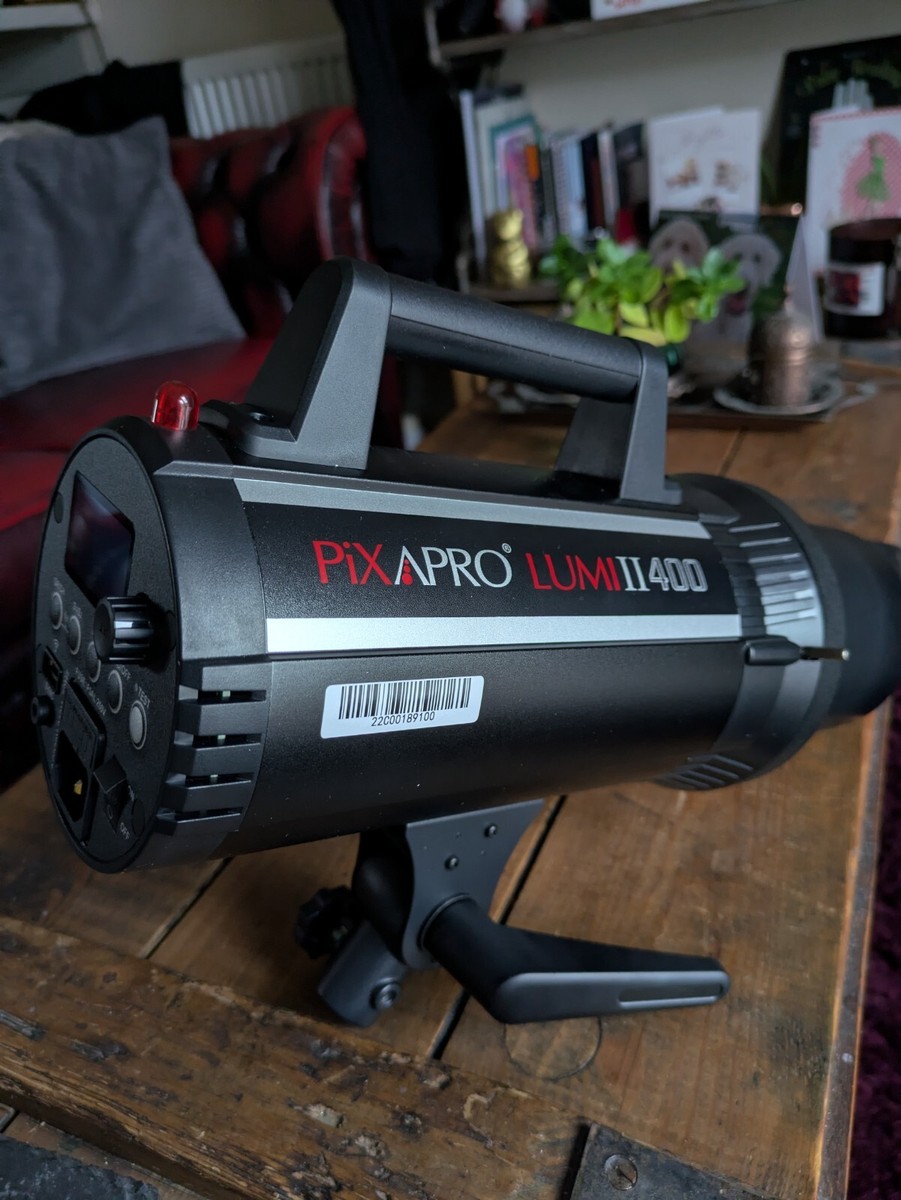
Portable Studio Lights: A Practical Guide
Portable studio lights make it easier to create controlled, consistent lighting wherever you work. Whether you are photographing products at home, filming interviews on location or creating portraits in a small studio, a compact lighting kit can help you shape the scene without relying entirely on daylight or fixed studio equipment.
What are portable studio lights?
Portable studio lights are lighting units designed to be transported and set up in different locations. They range from small LED panels and compact flash units to larger battery-powered lights with softboxes. Many can run from rechargeable batteries, while others need mains power or a compatible external battery.
Portability is not just about the size of the light. Weight, battery life, setup time, stand compatibility and the amount of kit needed to control the light all affect how practical a system is on location.
Common types of portable lighting
LED lights
LED lights provide continuous illumination, so the effect is visible while positioning the light and adjusting the camera. They are useful for video, interviews, product photography and situations where a simple, predictable setup is important. Some models offer adjustable brightness and colour temperature; others use fixed settings.
Portable flash
Battery-powered flash units produce brief bursts of light. They can provide powerful illumination for still photography while using relatively little energy between shots. Flash is often a good choice for portraits or moving subjects, but it requires compatible camera triggering equipment and a little practice to balance flash with ambient light.
Speedlights and compact flash units
Smaller flash units can be used on a camera or placed off-camera on a stand. They are easy to carry and can be paired with umbrellas or compact softboxes. Their output and recycle time vary, so check that a unit suits the size of the subject and the conditions in which it will be used.
Choosing the right portable studio lights
Start with the work the lights need to do. A light for a seated interview may need quiet operation and continuous output, while a portrait photographer may prioritise flash power and fast recycling. For product photography, precise control and consistent colour can be especially useful.
- Power and output: Consider the distance between the light and subject, the size of the area to illuminate and whether daylight needs to be overcome.
- Power source: Check battery runtime, charging time and whether the light can also operate from mains power. Battery performance can change with brightness and temperature.
- Colour quality: Look for reliable colour reproduction and consistent output. If accurate colour matters, check independent test results where available.
- Colour temperature: Adjustable colour temperature can help match daylight, indoor lighting or other sources. Fixed-colour lights may be simpler and less expensive.
- Light modifiers: Confirm that the light accepts suitable softboxes, umbrellas, reflectors or grids. These accessories affect both the quality and direction of the light.
- Mounting and controls: Check the mount type, stand compatibility and whether controls are easy to reach during a shoot.
- Transport: Account for stands, modifiers, batteries and cables as well as the lights themselves. A compact unit may still require a substantial kit bag.
Getting started with a simple lighting setup
A single portable light can make a noticeable difference. Position it to one side of the subject and slightly above eye level, then soften it with a suitable modifier. A reflector placed on the opposite side can bounce some light back into the shadows without requiring a second powered light.
For a more flexible portrait or interview setup, use one light as the key light and a second as a fill or background light. Make small adjustments to the light’s distance and angle before increasing its brightness. Moving a light closer generally makes it appear larger in relation to the subject, producing softer shadows, although the illuminated area may become less even.
When mixing a portable light with existing room light, set the camera’s white balance deliberately and check the result on screen. Different light sources can have different colour characteristics, which may make accurate colour harder to achieve.
Portable lighting for photography and video
For still photography, flash can freeze motion and provide a strong burst of light, while continuous LEDs make it easier to preview shadows and reflections. The best option depends on the camera, subject and shooting style.
For video, continuous lights are usually the straightforward choice because they illuminate the scene throughout recording. Consider fan noise, brightness control and flicker performance, especially when filming at particular frame rates or shutter settings. Test the light with the camera before an important shoot.
Safety and care
Set lights and stands on stable ground, and secure them with weights where appropriate. Take extra care outdoors, where wind can topple a stand or catch a softbox. Keep cables out of walkways, avoid blocking exits and follow the manufacturer’s instructions for batteries and chargers.
Allow lights to cool if required before packing them away, and protect lenses, reflectors and batteries during transport. Regularly inspect stands, clamps, cables and battery connections for signs of wear.
Frequently asked questions
Are portable studio lights suitable for beginners?
Yes. A compact LED or a simple flash unit can be a good starting point. Learning to position one light and control its softness is often more useful than buying several lights at once.
Can portable studio lights work outdoors?
Many are designed for location work, but the result depends on the light’s output, battery capacity and the brightness of the surroundings. Check the weather rating before using equipment in damp conditions, and protect stands from wind.
Is an LED or flash better?
Neither is best for every situation. LEDs are convenient for video and provide continuous light; flash can be more suitable for still photography when greater output or motion-freezing capability is needed. Some photographers use both types for different jobs.
Conclusion
The right portable studio lights balance output, colour quality, battery life and ease of transport. Choose equipment around the work you do, then build a setup that is quick to position and simple to control. With thoughtful placement and a suitable modifier, even a compact lighting kit can produce polished results in a wide range of locations.
7 Essential Tips for Using Portable Studio Lights Effectively
- Choose lightweight lights with sturdy stands.
- Check battery life before a shoot.
- Pack spare batteries and chargers.
- Use softboxes for softer, flattering light.
- Secure stands to prevent them tipping.
- Match the colour temperature across lights.
- Test your lighting setup before filming.
Choose lightweight lights with sturdy stands.
Choose lightweight lights with sturdy stands to make your portable setup easier to carry without sacrificing stability. Check that the stands lock securely and can support the lights and any modifiers you plan to use. For outdoor shoots or uneven surfaces, add weights where appropriate and keep an eye on the weather, as wind can quickly make even a well-built stand unstable.
Check battery life before a shoot.
Check the battery life of your portable studio lights before a shoot, especially if you’ll be working on location without easy access to mains power. Charge batteries fully, pack spares where possible and check how long the lights last at the brightness you plan to use, as higher output can drain power more quickly. A quick test before you leave can help prevent interruptions and keep the shoot running smoothly.
Pack spare batteries and chargers.
Pack spare batteries and chargers whenever you take portable studio lights on location. Lighting equipment can use power quickly, particularly at high brightness, so a charged spare helps prevent interruptions during a shoot. Check that the batteries are compatible, charge them before you leave and keep them safely stored; a charger or power bank can also be useful when access to mains power is limited.
Use softboxes for softer, flattering light.
Softboxes are a simple way to make portable studio lights produce softer, more flattering results. Their diffusing material spreads the light across a larger area, helping to soften harsh shadows and reduce strong highlights on skin. Position the softbox close to your subject for an especially gentle effect, and angle it to create natural-looking depth. Check that your light is compatible with the softbox mount, and secure the setup properly when working on location.
Secure stands to prevent them tipping.
Secure light stands to prevent them tipping, particularly when using large softboxes or shooting outdoors. Place each stand on a stable, level surface and spread its legs fully. Add a suitable weight, such as a sandbag, over the stand’s lower leg, and position the heaviest leg beneath the light. Keep stands clear of walkways, and never leave them unattended in windy conditions.
Match the colour temperature across lights.
Match the colour temperature across your portable studio lights to keep skin tones and other colours looking consistent throughout the scene. If one light is warmer or cooler than another, the difference can create uneven colour that is difficult to correct later. Set each light to the same colour temperature, or use gels to bring them into line, and check the result on your camera before shooting.
Test your lighting setup before filming.
Test your portable studio lighting setup before filming to make sure every light is positioned correctly, batteries are charged and modifiers are secure. Check the exposure, colour balance and shadows through your camera, and listen for any fan or equipment noise that could affect the recording. A quick rehearsal also helps you spot flicker, unwanted reflections or uneven lighting, giving you time to make adjustments before filming begins.