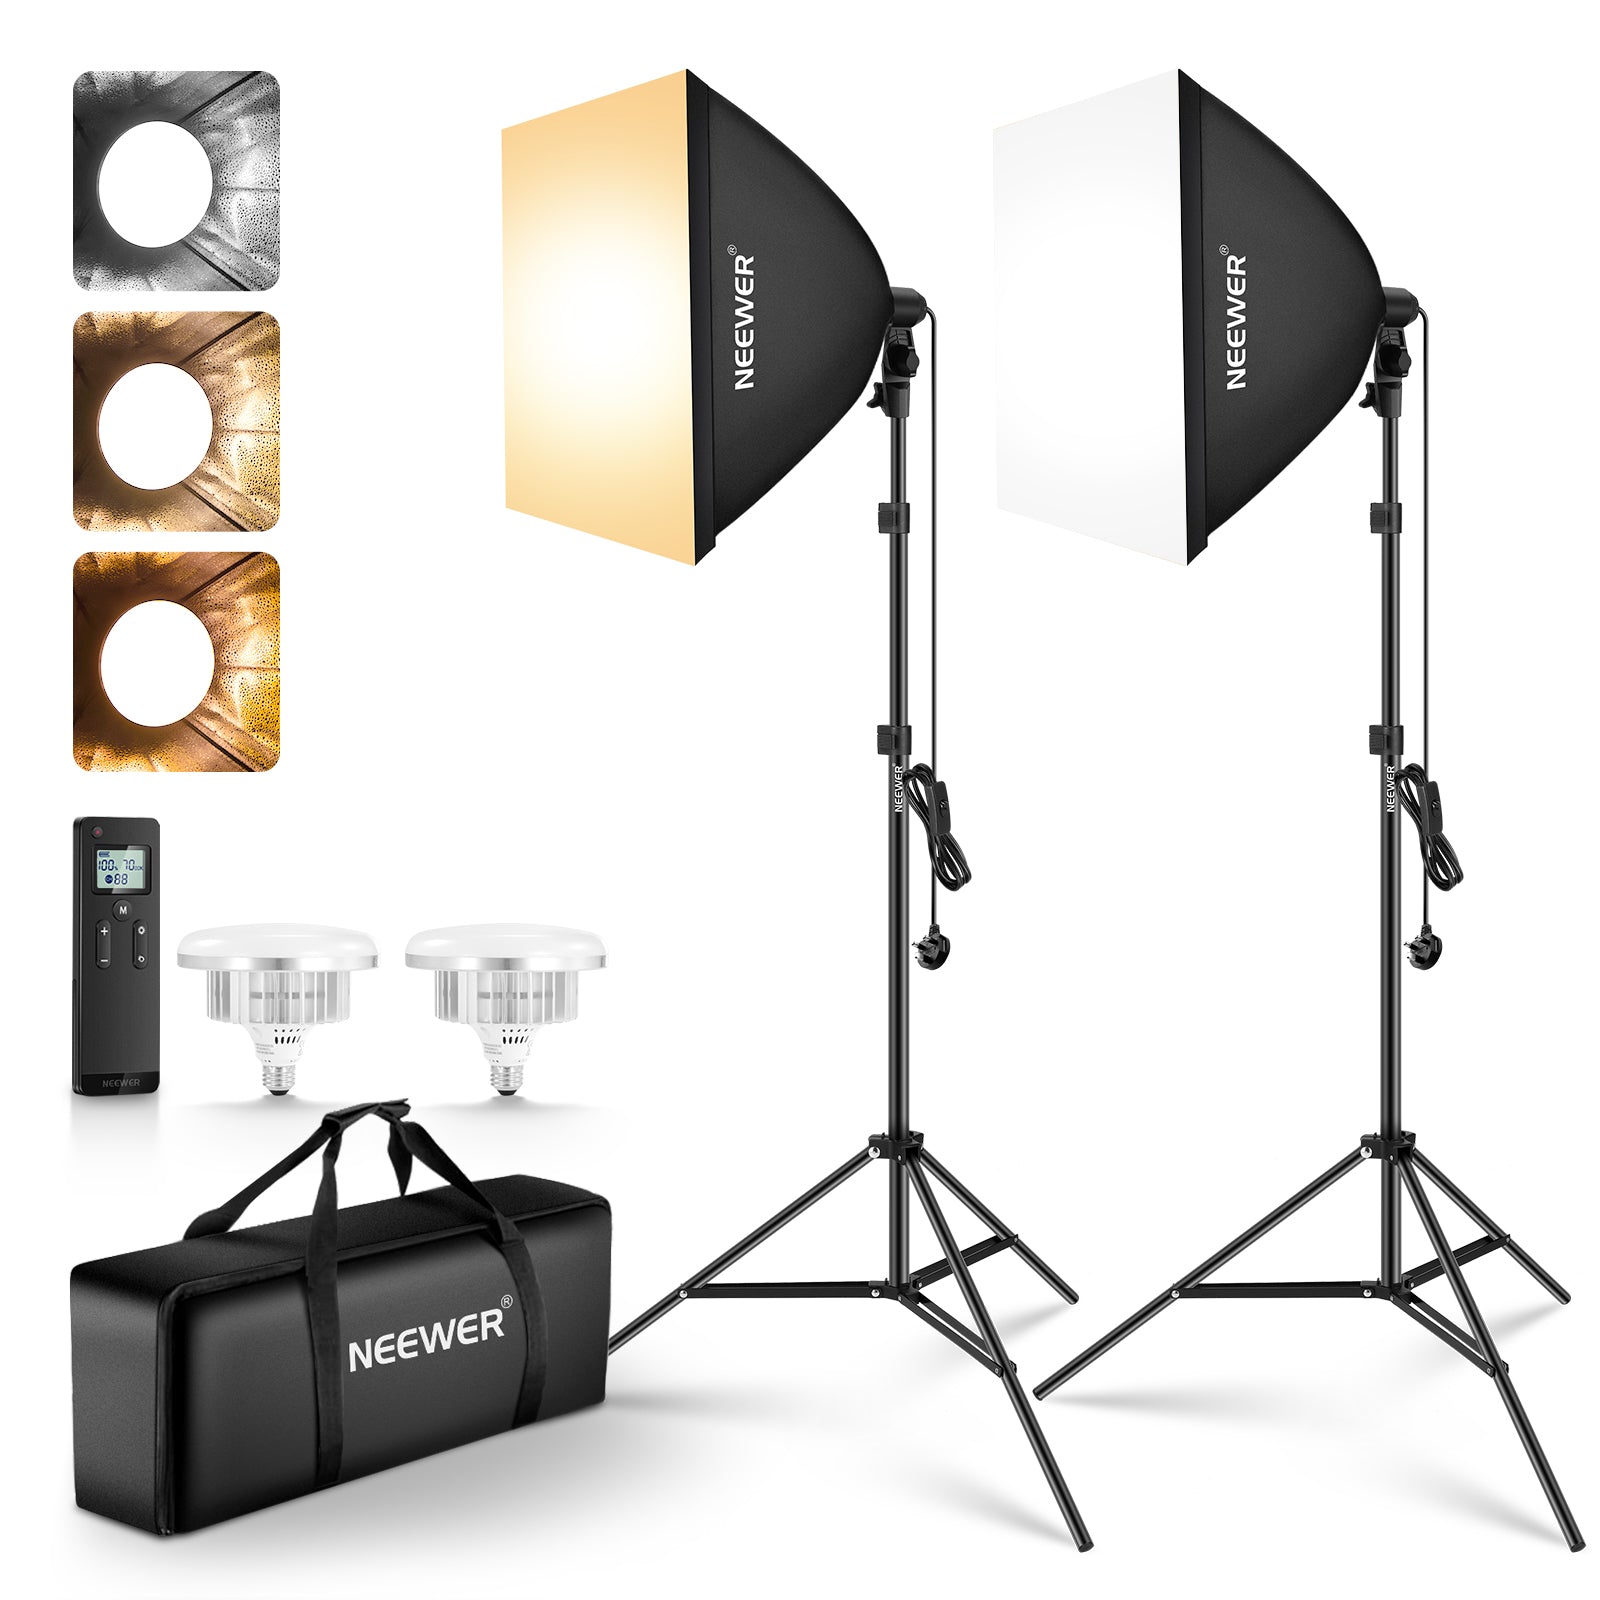
Portable Studio Lights: A Practical Guide
Portable studio lights make it easier to create controlled, consistent lighting wherever you work. Whether you are photographing products at home, filming an interview on location or creating portraits in a small studio, a portable setup can help you shape light without relying on daylight or bulky equipment.
What are portable studio lights?
Portable studio lights are compact lighting units designed to be moved and set up with relative ease. They range from small LED panels and camera-mounted lights to battery-powered flashes and larger continuous lights. Many can be paired with accessories such as softboxes, umbrellas, reflectors and light stands.
Unlike ambient light, which changes with the weather, time of day and location, studio lighting gives you greater control over brightness, direction and colour. Portable models bring that control to spaces where a permanent studio is not practical.
Common types of portable lighting
LED lights
LED lights provide continuous illumination, so you can see how the light falls on a subject as you adjust it. They are popular for video, interviews and product photography. Many models offer adjustable brightness and colour temperature, while some can produce a range of colours for creative effects.
Portable flash units
Battery-powered flashes produce a brief, powerful burst of light. They are often used for still photography, particularly when a fast shutter speed or strong light output is needed. Flash can take more practice than continuous lighting, as the effect is only visible once the photograph has been taken.
Small camera-mounted lights
Compact lights that attach to a camera or phone can be useful for close-up subjects, run-and-gun filming and situations where there is little room for a stand. Their small size is convenient, although they may not provide enough output to light a large scene evenly.
How to choose the right portable studio light
The best light depends on what you plan to photograph or film. Consider these factors before buying:
- Purpose: Continuous LED lighting is often a straightforward choice for video, while flash is commonly used for still photography.
- Brightness: Check the light’s output and whether it can illuminate your subject at the distance you need.
- Power: Battery power is useful on location. If you will work near mains sockets, a mains-powered option may be suitable. Check battery life and charging time if you expect to work for long periods.
- Colour temperature: Adjustable colour temperature makes it easier to match daylight, indoor lighting or other lamps in the scene.
- Portability: Consider the weight and size of the light, stand, modifiers and batteries as a complete kit.
- Compatibility: Check whether the light works with the modifiers you want to use, and whether any required brackets or adapters are included.
- Controls: Clear, accessible controls can make a difference when setting up quickly or working alone.
Shaping and softening the light
The light itself is only part of the setup. Accessories can change its character and direction. A softbox or umbrella spreads light across a larger area, producing softer shadows. A reflector can bounce light back into the darker side of a subject, while a grid helps keep light focused. For a more dramatic look, position the light to one side rather than directly in front.
Distance also matters. Bringing a light source closer to the subject often makes the light appear softer and more even, although it may cover a smaller area. Moving it farther away can help light a wider space, but the light may look harder and less even.
Setting up a simple portable lighting arrangement
A single light can be enough to create an effective image. Start by placing it slightly to one side of the camera and above the subject’s eye level. If the shadows are too strong, use a reflector or a second, lower-powered light to lift them. For a clean product image, position the subject near a plain background and move the light until reflections and shadows look deliberate.
For video, check the lighting on the camera screen before recording. Look for glare on glasses, unwanted shadows on the background and changes in colour caused by mixed light sources. If possible, switch off room lights that do not match the colour of your studio light.
Safe and reliable use
Set up stands on a stable surface and keep their legs clear of walkways. Secure heavier lights and modifiers properly, especially outdoors, where wind can catch a softbox or umbrella. Keep cables tidy, avoid overloading electrical sockets and follow the manufacturer’s instructions for batteries and charging.
Portable studio lights are most effective when they suit the job rather than simply having the highest output. By choosing the right type, learning how distance and modifiers affect the result, and allowing time to test the setup, you can create reliable lighting in a wide range of locations.
Top 5 Tips for Optimising Portable Studio Lighting
- Choose lights with adjustable brightness and colour temperature.
- Check battery life before shooting away from mains power.
- Use lightweight stands that pack down easily.
- Bring spare batteries or a compatible power bank.
- Diffuse the light for softer, more flattering results.
Choose lights with adjustable brightness and colour temperature.
Choose portable studio lights with adjustable brightness and colour temperature to adapt your setup to different subjects and surroundings. Dimming lets you fine-tune the light without moving the stand, while changing the colour temperature helps you match daylight or indoor lighting for more natural-looking results. This flexibility is especially useful when working in changing locations or balancing your lights with existing light sources.
Check battery life before shooting away from mains power.
Before heading out to shoot away from mains power, check that your portable studio lights are fully charged and that their batteries will last for the planned session. Keep spare batteries or a suitable power bank on hand where possible, and remember that higher brightness settings can drain power more quickly. A quick check before you leave can help prevent interruptions and keep your shoot on schedule.
Use lightweight stands that pack down easily.
Choose lightweight stands that pack down easily to make transporting and setting up your portable studio lights quicker and less tiring. Check that they are sturdy enough to support your lights and any modifiers, such as softboxes, and spread the legs fully on a level surface for stability.
Bring spare batteries or a compatible power bank.
Bring spare batteries or a compatible power bank when using portable studio lights, especially for long shoots or work on location where mains power may not be available. Check your light’s power requirements and compatibility before packing, and charge all batteries in advance. Having a backup close at hand helps prevent interruptions and keeps your shoot running smoothly.
Diffuse the light for softer, more flattering results.
Diffusing the light softens harsh shadows and creates a more even, flattering look—particularly for portraits and close-up work. Place a softbox, umbrella or diffusion panel between the light and your subject, and adjust its distance to control how gentle the result appears. Keep in mind that diffusion can reduce brightness, so you may need to increase the light’s output or move it closer.