Photography Lighting Kits: A Practical Guide
A photography lighting kit can make it easier to create consistent, professional-looking images, whether you are working in a home studio, photographing products or taking portraits on location. Kits range from simple continuous lights to advanced flash systems, so the right choice depends on your subject, space and experience.
What is a photography lighting kit?
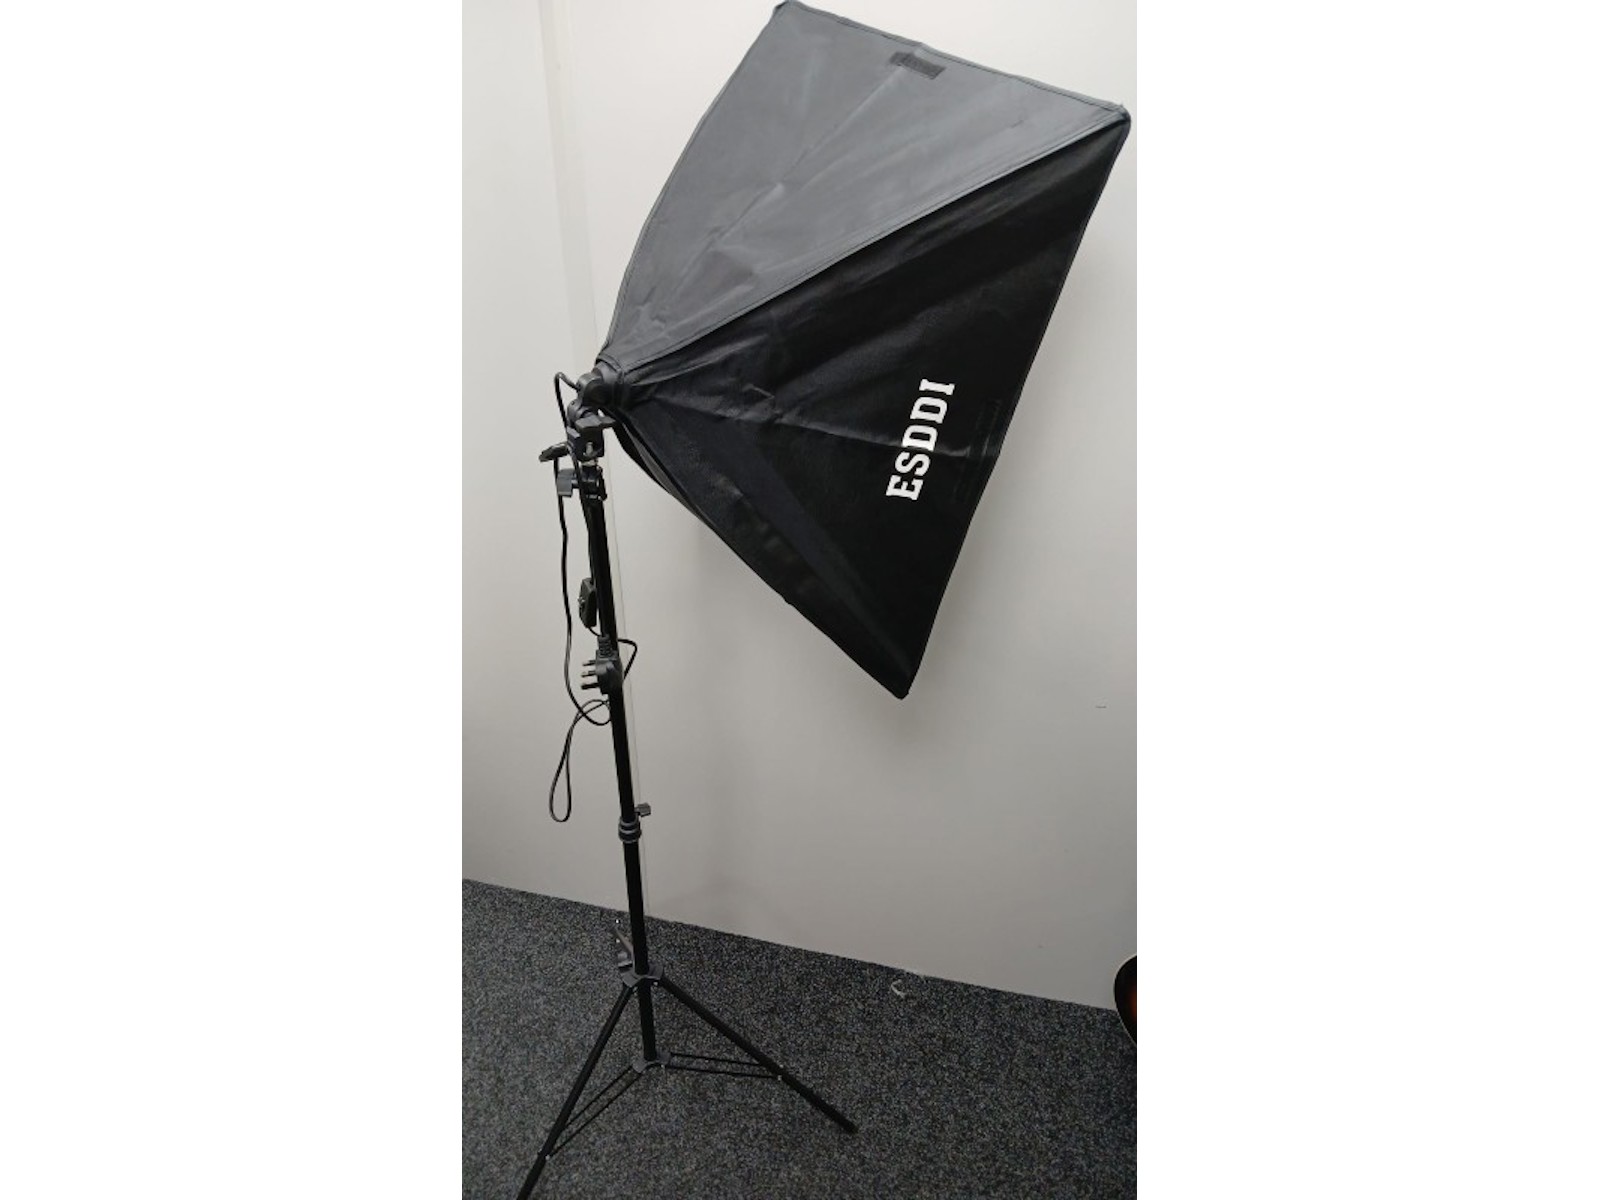
A lighting kit is a collection of equipment designed to help you control and shape light. A basic kit may include one or two light sources, stands and a softbox. More complete sets can include multiple lights, reflectors, umbrellas, colour gels, radio triggers and a carrying case.
The aim is not simply to make a scene brighter. Lighting equipment helps you control the direction, softness, colour and intensity of light, giving you greater creative control over the final image.
Continuous lights or flash?
Most photography lighting kits use either continuous lighting or flash. Each has advantages, and neither is best for every situation.
Continuous lighting
Continuous lights stay on while you work. Because you can see how the light falls on your subject, they are often straightforward for beginners and useful for video as well as photography. LED lights are popular because they are generally energy-efficient and produce less heat than older tungsten lights. Check the light’s colour accuracy and brightness before buying, particularly if accurate product colours matter.
Flash lighting
Studio flash produces a brief burst of light when you take a photograph. It can provide more power than many compact continuous lights, which is useful for freezing movement or overpowering bright ambient light. Flash takes a little more practice: you will need to understand settings such as flash power, shutter speed and camera synchronisation. Some kits include a trigger that fires the flash remotely from the camera.
Common kit components
- Light source: An LED panel, continuous lamp or flash head.
- Light stand: Holds the light and modifier in position. Check its maximum height, load capacity and stability.
- Softbox: Diffuses and softens light, making it a versatile choice for portraits and product photography.
- Umbrella: A lightweight, quick-to-set-up modifier. Reflective umbrellas bounce light towards the subject, while shoot-through umbrellas soften light by allowing it to pass through.
- Reflector: Bounces existing light back onto a subject, helping to soften shadows without adding another powered light.
- Trigger or receiver: Sends a signal from the camera to a flash unit, where required.
- Power supply: Mains adaptors are convenient in a studio; batteries are useful when working away from a socket.
- Carry case: Helps keep equipment together and makes transport easier.
Choosing a kit for your needs
Before purchasing, consider what you photograph most often. A portrait photographer may benefit from a softbox and a reflector, while someone photographing small products might want a compact light tent or a pair of adjustable lights. For video, continuous LEDs with adjustable brightness and colour temperature may be more practical than flash.
Think about your available space, too. Large softboxes can produce attractive, soft light, but they need room and sturdy stands. If you work in a small room or travel frequently, compact lights and foldable modifiers may be easier to manage.
It is also worth checking that the kit is compatible with your camera and other equipment. For flash systems, confirm that the trigger supports your camera’s make and model, and check whether the kit uses a standard mount or a proprietary fitting for its modifiers.
Getting started with a simple setup
A single light can be enough to create a wide range of effects. Place it to one side of your subject and slightly above eye level, then adjust its distance and angle. A softbox close to the subject usually creates softer, more gradual shadows. Move the light further away for more even illumination across a larger area.
Use a reflector on the opposite side of the subject to lift the shadows. A white reflector gives a subtle effect, while a silver one reflects more light. Try taking a photograph after each adjustment so you can see how changes to the position and power affect the result.
When using more than one light, change one thing at a time. For example, set the main light first, then add a second light only if it serves a clear purpose, such as brightening the background or separating the subject from it.
Safety and care
Set stands on a level surface and spread their legs fully. Keep cables tidy, and avoid placing equipment where people could trip over it. In busy spaces or outdoors, secure stands with suitable weights and take extra care in windy conditions. Let hot lamps cool before handling them, and follow the manufacturer’s instructions for assembly, power and maintenance.
After a shoot, check that fabric modifiers are dry and clean before packing them away. Store lights and accessories in a protective case, and inspect cables, plugs and stands regularly for signs of damage.
Final thoughts
The best photography lighting kit is the one that suits the work you do and the space you have. Beginners can often achieve a great deal with one reliable light, a softbox and a reflector. As your skills develop, you can add more lights and modifiers to solve specific creative challenges. Learning to position and shape light is just as important as the equipment itself.
Photography Lighting Kit FAQs: Choosing the Best Lights and Setups
- What is the best lighting setup for product photography?
- What lights should I buy for photography?
- What is the best lighting kit for photography?
- What is the 3 lighting rule?
- What is the best lighting setup for photography?
- What is the best photography light for home use?
What is the best lighting setup for product photography?
The best lighting setup for product photography depends on the item and the look you want, but a reliable starting point is one large, diffused light placed to the side of the product, with a reflector on the opposite side to soften shadows. For even illumination, use two diffused lights positioned at either side; for more shape and depth, use a single key light and adjust its angle. A white background can be lit separately if you want it to appear bright and clean. Experiment with the distance and direction of the lights, and use a tripod to keep your framing consistent.
What lights should I buy for photography?
The best lights to buy depend on what you photograph and where you work. For beginners, a continuous LED light with a softbox is a versatile choice: you can see how the light falls on your subject, and the same setup can often be used for video. If you mainly photograph portraits or need more power to freeze movement, consider a studio flash kit with a softbox and a compatible camera trigger. For a simple, affordable start, one light and a reflector can be enough; choose equipment that suits your space, budget and camera, and check that spare parts and modifiers are easy to find.
What is the best lighting kit for photography?
There is no single best photography lighting kit for everyone; the right choice depends on your subject, budget and whether you also shoot video. For beginners, a reliable continuous LED kit with adjustable brightness, two softboxes and sturdy stands is versatile and easy to use. If you mainly take still photographs and need more power to freeze movement or work in bright conditions, consider a flash kit with compatible triggers and softbox or umbrella modifiers. Whichever you choose, prioritise good colour accuracy, safe, stable stands and equipment that suits the space you work in.
What is the 3 lighting rule?
The “3 lighting rule” usually refers to three-point lighting, a common setup using a key light, a fill light and a back light. The key light is the main source and shapes the subject; the fill light softens shadows created by the key; and the back light, placed behind the subject, helps separate them from the background. It is a useful starting point for portraits and video, but not a strict rule—one or two lights, or additional lights, may work better depending on the subject and the effect you want.
What is the best lighting setup for photography?
The best lighting setup depends on your subject, space and the look you want to create. For a versatile starting point, use one light with a softbox placed slightly to one side and above your subject, then add a reflector on the opposite side to soften shadows. This simple arrangement works well for portraits and many product shots. As you gain experience, you can introduce a second light to brighten the background or add separation.
What is the best photography light for home use?
For most home photographers, a dimmable LED light with a softbox is a versatile choice: it produces soft, even light, is easy to adjust and lets you see the effect before taking a picture. Choose a compact kit that suits your available space, with adjustable colour temperature and a stable stand. A reflector can also help soften shadows without taking up much room.