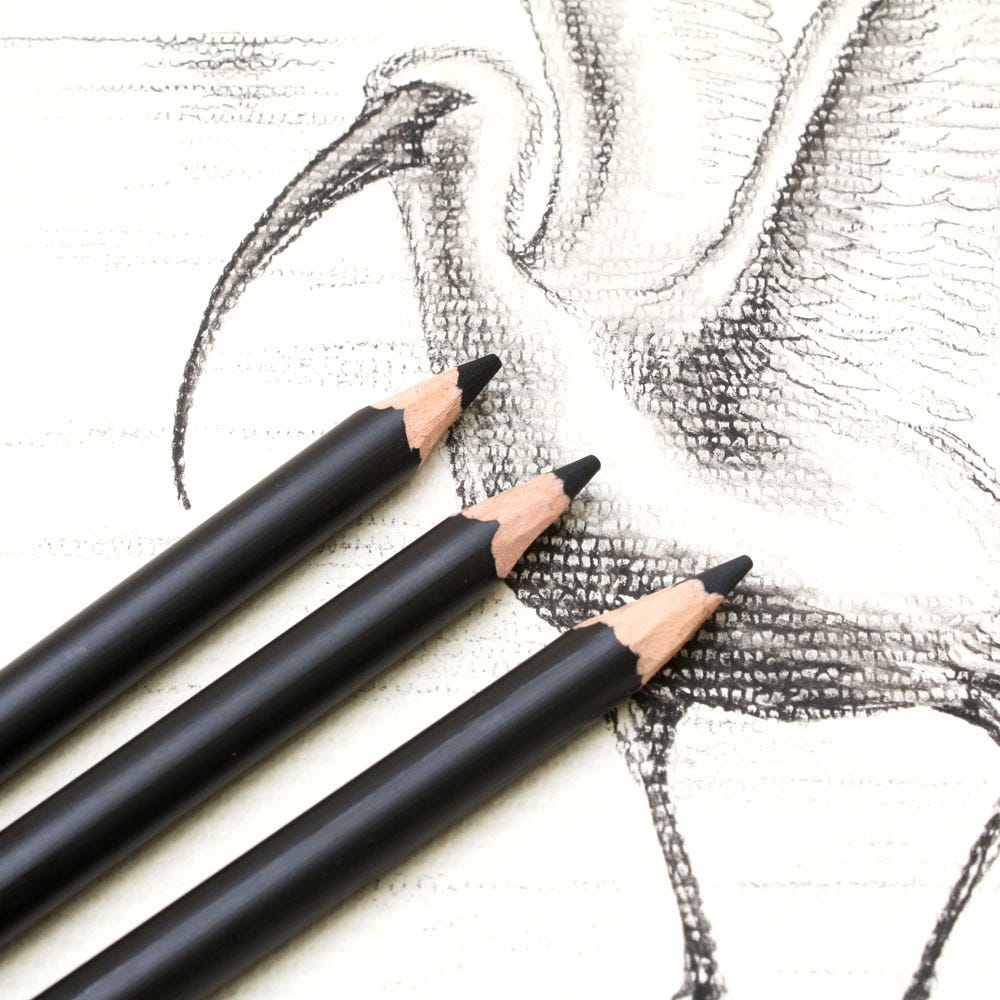
Charcoal Pencil Sketch: A Guide to Drawing with Tone and Texture
A charcoal pencil sketch combines the expressive qualities of charcoal with the precision of a pencil. It is a versatile way to explore light, shadow, texture and form, whether you are drawing a still life, a portrait or a landscape. Charcoal can create rich, deep tones, while its pencil format makes it easier to control than loose sticks of charcoal.
What is a charcoal pencil?
A charcoal pencil contains charcoal encased in wood, much like a graphite pencil. The charcoal core may be soft, medium or hard. Softer pencils usually make darker, more easily smudged marks, while harder pencils offer greater control and finer lines. The exact range varies between manufacturers, so it is worth testing a few pencils before beginning a finished drawing.
Charcoal is different from graphite. Graphite tends to produce a smooth, slightly reflective mark, whereas charcoal generally gives a softer, more matte finish. It can also be lifted or blended to create a broad range of tonal effects.
Materials to get started
- Charcoal pencils: A small selection of soft and hard grades is useful.
- Drawing paper: Lightly textured paper gives charcoal something to grip. Heavier paper is helpful if you plan to use several layers.
- Kneaded eraser: This can lift charcoal gently and be shaped into a point for small highlights.
- Blending tool: A paper stump or tortillon can soften marks. A clean finger or piece of soft cloth can also work, though these may spread oils or charcoal unevenly.
- Sharpener or craft knife: Use these carefully to expose the charcoal core. A longer point can be useful for varied marks.
- Fixative: A suitable fixative can help protect a finished drawing from smudging. Follow the product instructions and use it in a well-ventilated area.
Building a charcoal pencil sketch
Observe before drawing
Begin by looking closely at your subject. Identify its largest shapes, the direction of the light and the main areas of shadow. Squinting slightly can make it easier to see broad tonal patterns without being distracted by small details.
Map out the composition
Use a hard charcoal pencil and a light touch to mark the basic proportions and placement of the subject. Keep these early lines simple. The aim is to establish the structure, not to create a finished outline.
Establish the darkest tones
Add the deepest shadows gradually, using a softer pencil where appropriate. Compare each dark area with the rest of the drawing: a shadow may seem dark on its own, but look too strong beside the highlights. Building tone in layers gives you more control than pressing heavily from the start.
Develop mid-tones
Use light, repeated strokes to fill the areas between the darkest shadows and the brightest highlights. You can vary the pressure, direction and spacing of your marks to suggest different surfaces. For example, curved strokes may describe the rounded form of an apple, while short, broken marks can suggest rough stone.
Blend selectively
Blending can create smooth transitions, but blending every area may make a drawing look flat. Leave some pencil strokes visible to preserve texture and energy. A paper stump is useful for small areas, while broader marks can be softened with a cloth or carefully controlled fingertip.
Lift out highlights and refine details
Use a kneaded eraser to lift charcoal from the paper and bring back highlights. You can also use a sharpened charcoal pencil to add crisp edges, dark accents or fine details. Revisit the whole drawing as you work so that individual details remain in keeping with the overall light and form.
Useful techniques to try
- Hatching: Draw parallel lines to build tone. Cross-hatching uses overlapping sets of lines for darker values.
- Layering: Apply light marks in several passes to deepen tone without losing control.
- Scumbling: Use small, irregular strokes to create broken, varied texture.
- Erasing: Treat the eraser as a drawing tool. Lifted lines can suggest light on hair, fabric, foliage or reflective surfaces.
- Using negative space: Pay attention to the shapes around your subject. Drawing these spaces can help improve proportion and composition.
Common challenges
Charcoal can smudge easily, particularly when your hand rests on the paper. Place a clean sheet beneath your drawing hand, and work from the top of the page downwards where possible. Avoid rubbing the surface repeatedly, as this can damage the paper and make later marks harder to control.
Another common difficulty is making every outline equally dark. In a convincing sketch, edges vary: some are sharp and clearly defined, while others fade into shadow or blend with the background. Observing these changes helps create a stronger sense of depth.
It is also easy to make a drawing too dark too soon. Start lightly, compare tones as you go and reserve the brightest areas of the paper for the strongest highlights. You can always add more charcoal, but removing a heavy layer may be difficult.
Practise with simple subjects
Everyday objects make excellent subjects for charcoal pencil practice. Try drawing a piece of fruit, a mug or a folded piece of fabric under a single light source. These objects provide clear changes in tone and are useful for studying shape, cast shadows and texture. Once you are comfortable with basic forms, move on to more complex subjects such as portraits or landscapes.
Conclusion
A charcoal pencil sketch offers a balance of control and expressive freedom. By learning to observe tonal relationships, build marks gradually and use blending and erasing with intention, you can create drawings that feel both detailed and lively. The most useful approach is to practise regularly, experiment with different mark-making techniques and allow the character of the charcoal to remain visible in your work.
Mastering Charcoal Pencil Sketching: 7 Essential Tips for Stunning Results
- Choose smooth, heavyweight paper for fine detail.
- Keep charcoal pencils sharp for crisp edges.
- Build dark tones gradually with light layers.
- Use a kneaded eraser to lift highlights.
- Blend gently with a stump or soft cloth.
- Protect your hand with scrap paper while working.
- Fix the finished sketch with a suitable spray.
Choose smooth, heavyweight paper for fine detail.
Choose smooth, heavyweight paper when your charcoal pencil sketch calls for fine detail. A smooth surface allows the pencil to glide easily, helping you draw clean lines and precise features, while heavyweight paper is more resilient to erasing, blending and repeated layers of charcoal. Although textured paper can add expressive effects, a smoother finish gives you greater control over delicate marks and subtle shading.
Keep charcoal pencils sharp for crisp edges.
Keeping charcoal pencils sharp helps you create crisp edges, fine details and more controlled lines in your sketch. A well-pointed pencil is especially useful for defining features, adding texture and clarifying the boundary between light and shadow. Sharpen it carefully with a craft knife or suitable sharpener, as charcoal cores can be fragile, and keep a softer pencil nearby for broader, darker marks.
Build dark tones gradually with light layers.
Build dark tones gradually by applying several light layers of charcoal rather than pressing hard straight away. This gives you more control over the depth and shape of the shadows, helps preserve the paper’s texture and makes it easier to adjust the drawing if needed. Add each layer gently, comparing it with the surrounding tones as you go.
Use a kneaded eraser to lift highlights.
Use a kneaded eraser to lift charcoal from the paper and create highlights, rather than simply correcting mistakes. Shape it into a point for small, precise details, or flatten it to brighten broader areas. Press and lift gently instead of rubbing, which helps preserve the paper’s texture and keeps the surrounding tones clean.
Blend gently with a stump or soft cloth.
Blend charcoal gently with a paper stump or soft cloth to soften harsh lines and create smooth transitions between light and shadow. Use light pressure and build up gradually, as rubbing too firmly can flatten the texture of the paper or make the sketch look muddy. Keep some pencil marks visible to preserve texture and character.
Protect your hand with scrap paper while working.
Place a clean sheet of scrap paper beneath your drawing hand as you work on a charcoal pencil sketch. It acts as a barrier between your skin and the drawing, helping to prevent oils and moisture from affecting the paper and reducing the risk of smudging the charcoal. Move the sheet as you work, and make sure it covers the areas you have already finished.
Fix the finished sketch with a suitable spray.
Once your charcoal pencil sketch is complete, protect it from smudging by applying a suitable fixative spray. Follow the product instructions, spray lightly and evenly from the recommended distance, and work outdoors or in a well-ventilated area. Test the spray on a spare piece of paper first, as fixatives can slightly alter the drawing’s tone.