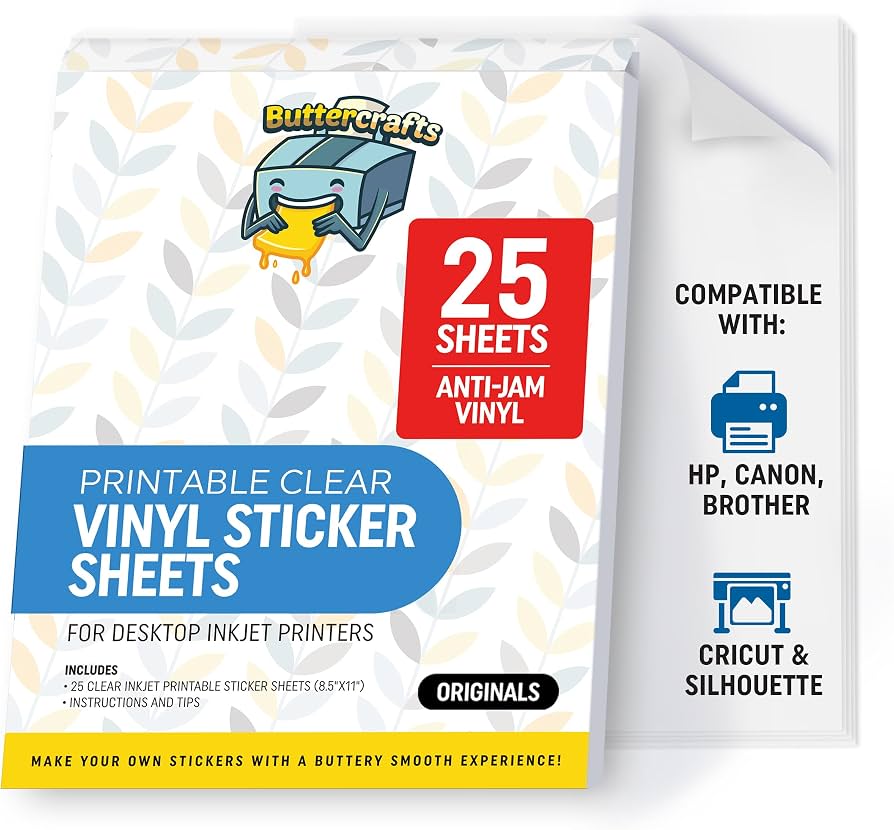
Printable Vinyl: A Practical Guide
Printable vinyl is a versatile material used to create custom stickers, labels, signs and decorative graphics. Designed to work with compatible printers, it combines a printable surface with an adhesive backing, making it easy to turn digital designs into items that can be applied to a wide range of smooth surfaces.
What is printable vinyl?
Printable vinyl is a thin, flexible sheet or roll made from vinyl, with a surface that accepts ink from a suitable printer. The reverse side is coated with adhesive and usually protected by a backing paper, which is peeled away when the design is ready to apply.
It is available in different finishes, including glossy, matte, transparent and speciality textures. Some products are intended for indoor use, while others are designed to withstand outdoor conditions. The right choice depends on the printer, the surface and how the finished design will be used.
Common uses
Printable vinyl is used for both practical and creative projects. Common applications include:
- Custom stickers and decals
- Product labels and packaging
- Window graphics and signs
- Personalised bottles, laptops and accessories
- Scrapbooking and craft projects
- Short-run promotional materials
It is particularly useful when designs need to be produced in small quantities or customised with different colours, names or images.
Choosing the right type
Before buying printable vinyl, check that it is compatible with your printer. Inkjet and laser printers use different printing processes, so a sheet made for one type may not work properly in the other. Always follow the manufacturer’s instructions and check your printer’s specifications.
Consider the finish as well. Glossy vinyl can make colours appear bright and vivid, while matte vinyl has a softer look and can reduce glare. Transparent vinyl is useful when the background needs to show through, although colours may appear different depending on the surface beneath it.
For items that will be handled frequently or exposed to moisture, look for a product designed for greater durability. A compatible clear laminate may offer additional protection, but it should only be used if suitable for the vinyl and printing method.
How to print and apply printable vinyl
- Prepare the design: Set up the artwork at the correct size and resolution. Check whether the design needs to be mirrored, particularly if the vinyl is intended for application from the inside of a window.
- Check printer settings: Select the media type recommended by the vinyl manufacturer. Print a test first if colour accuracy or positioning is important.
- Allow the ink to dry: Give the print enough time to dry before cutting or handling it. Drying times vary by product and printer.
- Cut the design: Trim by hand or use a compatible cutting machine. Leave a border if you want a traditional sticker effect.
- Prepare the surface: Clean the application area and make sure it is dry and free from dust, oil and residue.
- Apply carefully: Peel away the backing and position the vinyl. Smooth it from the centre outwards to help prevent air bubbles and creases.
Tips for better results
- Store unused sheets flat and away from heat, sunlight and moisture.
- Handle the printable surface carefully to avoid fingerprints or marks.
- Use a test print to check colours, alignment and scale before printing a full sheet.
- Apply the vinyl to a clean, smooth surface for the best adhesion.
- Check whether the product is suitable for outdoor use before placing it outside.
Printable vinyl compared with sticker paper
Printable vinyl and sticker paper may look similar, but they are not interchangeable. Sticker paper is often paper-based and may be more suitable for simple indoor labels or craft projects. Printable vinyl is generally more flexible and better suited to applications where a wipeable or more hard-wearing material is needed. Performance varies between products, so check the specifications rather than relying on the material name alone.
Final thoughts
Printable vinyl offers an accessible way to produce personalised graphics, labels and decals. By choosing a product that suits your printer and intended use, preparing the surface properly and following application instructions, you can create neat, professional-looking results for a wide range of projects.
Top 9 Tips for Perfect Printable Vinyl Projects
- Choose printable vinyl compatible with your printer.
- Check whether it suits inkjet or laser printing.
- Print a small test before the full design.
- Use the recommended paper type and print quality.
- Let the ink dry fully before handling.
- Keep the backing on while cutting.
- Clean and dry the surface before applying.
- Smooth from the centre out to avoid bubbles.
- Laminate or seal it for extra water resistance.
Choose printable vinyl compatible with your printer.
Choose printable vinyl that is compatible with your printer. Inkjet and laser printers use different printing methods, so vinyl designed for one may not produce good results—or could damage your printer—when used with the other. Check the packaging or product instructions before buying, and follow the recommended printer settings for a clean, well-defined print.
Check whether it suits inkjet or laser printing.
Before printing on vinyl, check whether it is designed for an inkjet or laser printer. The two types use different printing methods, and using the wrong vinyl can lead to poor print quality, smudging or damage to the material. Check the product packaging or manufacturer’s instructions, and select the recommended printer settings for the best results.
Print a small test before the full design.
Before printing your full design, print a small test to check the colours, sizing and alignment. This simple step can help you spot issues early, avoid wasting printable vinyl and make any necessary adjustments before committing to the finished piece.
Use the recommended paper type and print quality.
Choose the paper or media type recommended by the printable vinyl manufacturer, then select the suggested print-quality setting in your printer software. These settings help the printer feed the vinyl correctly and apply ink as intended, reducing the risk of smudging, poor colour or uneven results. If you are unsure, print a small test first and allow the ink to dry fully before handling the sheet.
Let the ink dry fully before handling.
After printing on printable vinyl, allow the ink to dry fully before touching, cutting or applying the design. Handling it too soon can smudge the image or transfer ink onto other surfaces. Drying times vary depending on the printer, ink and vinyl, so follow the manufacturer’s guidance and, if in doubt, leave the print for longer.
Keep the backing on while cutting.
Keep the backing on while cutting to support the printable vinyl and stop its adhesive from sticking to the blade or cutting mat. For a kiss cut, adjust the blade so it cuts through the vinyl but leaves the backing intact, making the design easier to peel and apply. If you want to cut all the way through, use a suitable setting for both layers.
Clean and dry the surface before applying.
Before applying printable vinyl, make sure the surface is clean and completely dry. Dust, grease and moisture can prevent the adhesive from bonding properly, causing the vinyl to lift, bubble or peel over time. Wipe the area with a suitable cleaner, allow it to dry fully, then apply the vinyl carefully for a smoother, longer-lasting finish.
Smooth from the centre out to avoid bubbles.
When applying printable vinyl, begin at the centre of the design and smooth it outwards towards the edges. This helps push trapped air out as you go, reducing bubbles and creases for a neater, more professional finish.
Laminate or seal it for extra water resistance.
For extra water resistance, laminate or seal your printed vinyl once the ink is completely dry. Use a product that is compatible with both the vinyl and your printer’s ink, and follow the manufacturer’s instructions to avoid smudging or peeling. This added layer can help protect the design from splashes, moisture and everyday wear, but it does not necessarily make the finished item waterproof or suitable for prolonged outdoor exposure.